PaymentHood for J2Commerce
Accept payments through 15+ providers with a single plugin. Install it on your Joomla / J2Commerce store, connect your account, and start processing payments in minutes.
Installation Guide
Follow these steps to install PaymentHood in your J2Commerce store
Download the Plugin
Download the latest PaymentHood plugin for J2Commerce from our GitHub repository. It is a standard Joomla extension package (.zip) — no build steps or extra dependencies required.
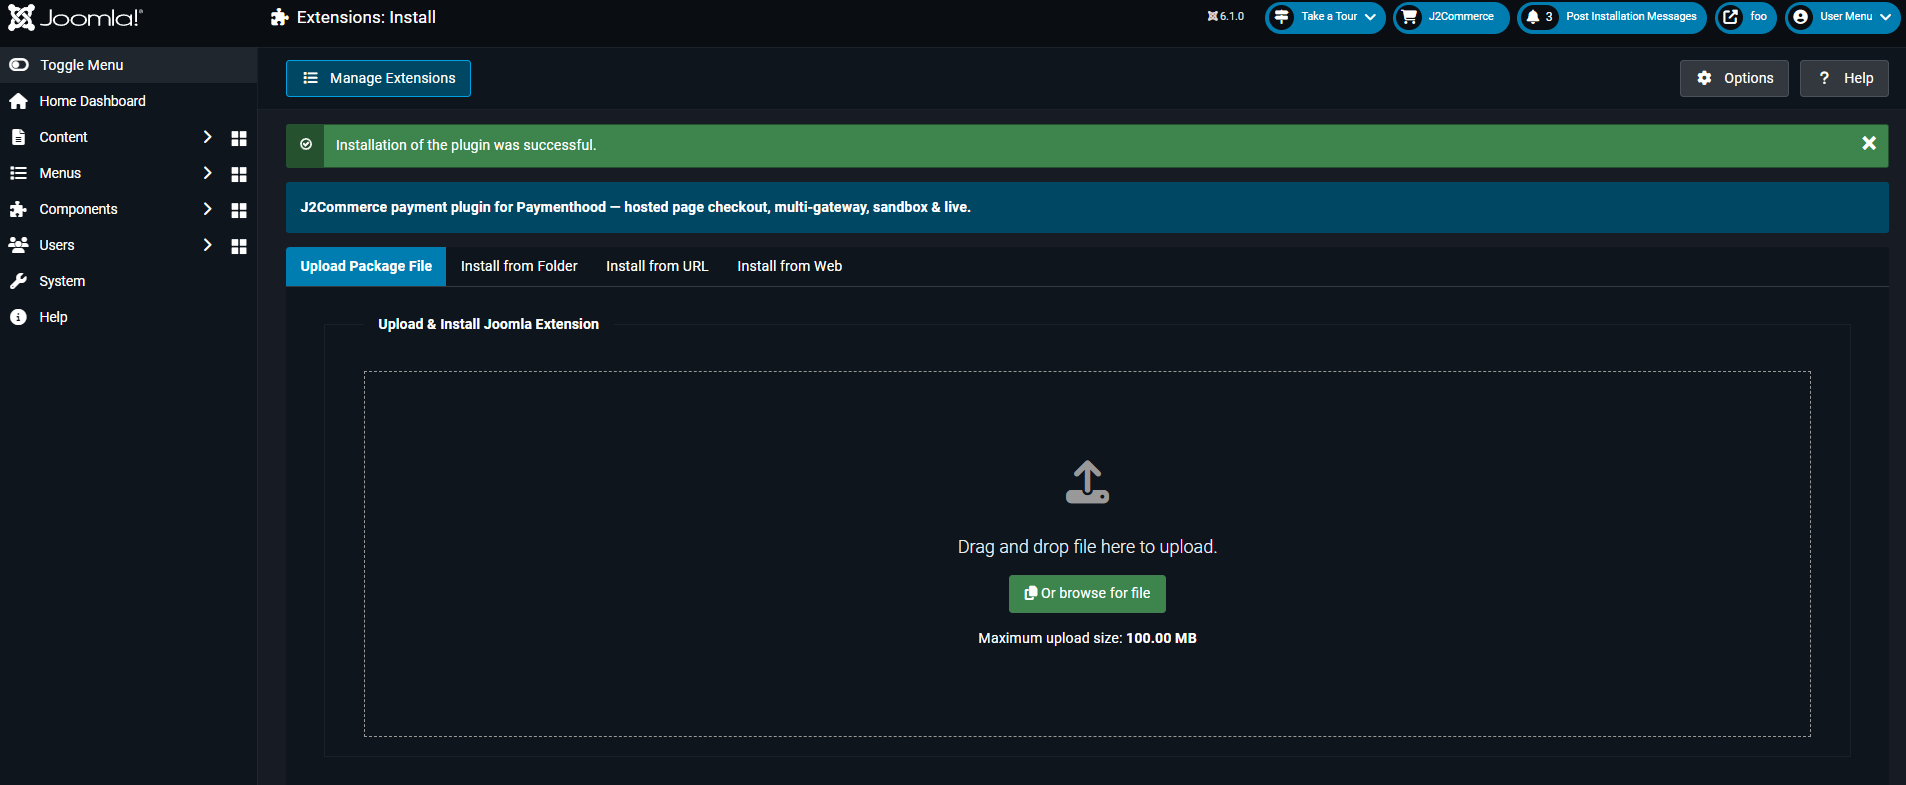
Upload & Install in Joomla
Log in to your Joomla administrator and go to Extensions → Install. On the Upload Package File tab, drag & drop the ZIP you downloaded (or click Or browse for file). Joomla installs it in seconds and shows “Installation of the plugin was successful.”
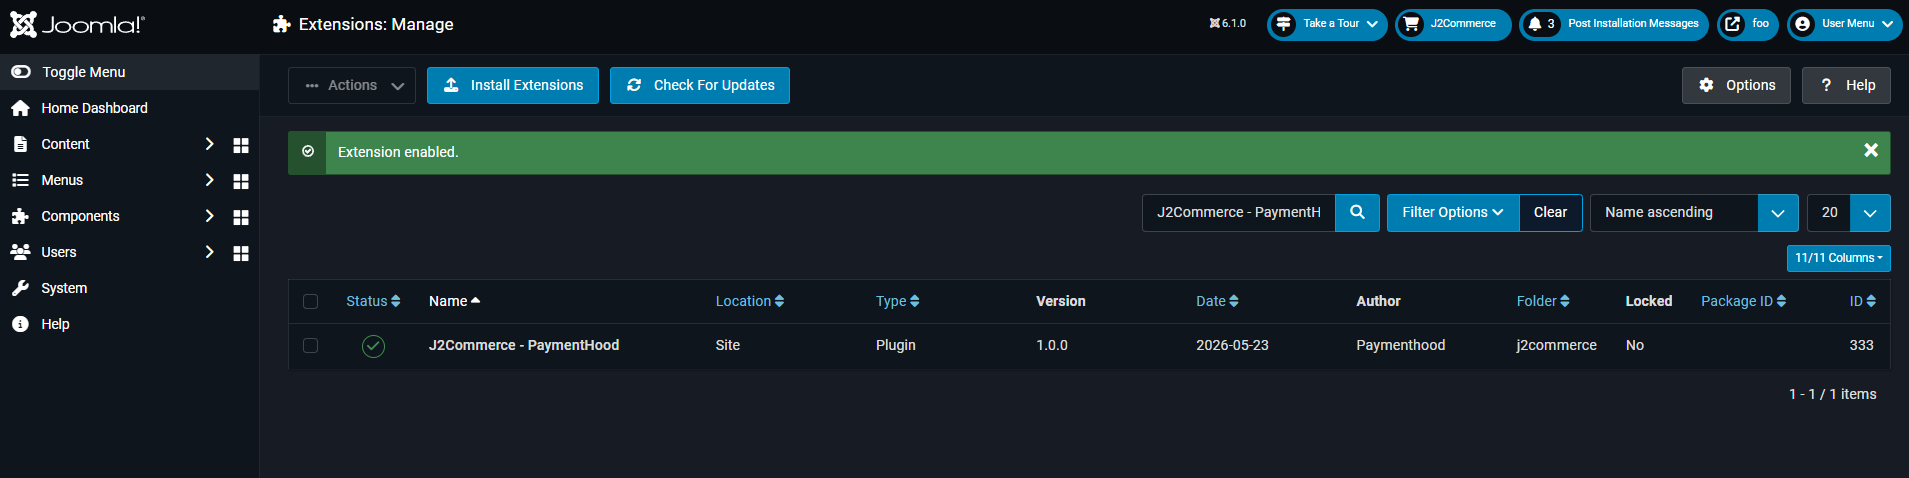
Confirm the Plugin is Installed
Go to Extensions → Manage and search for “J2Commerce - PaymentHood”. You should see it listed as a Site Plugin in the j2commerce folder, by Paymenthood, and enabled.
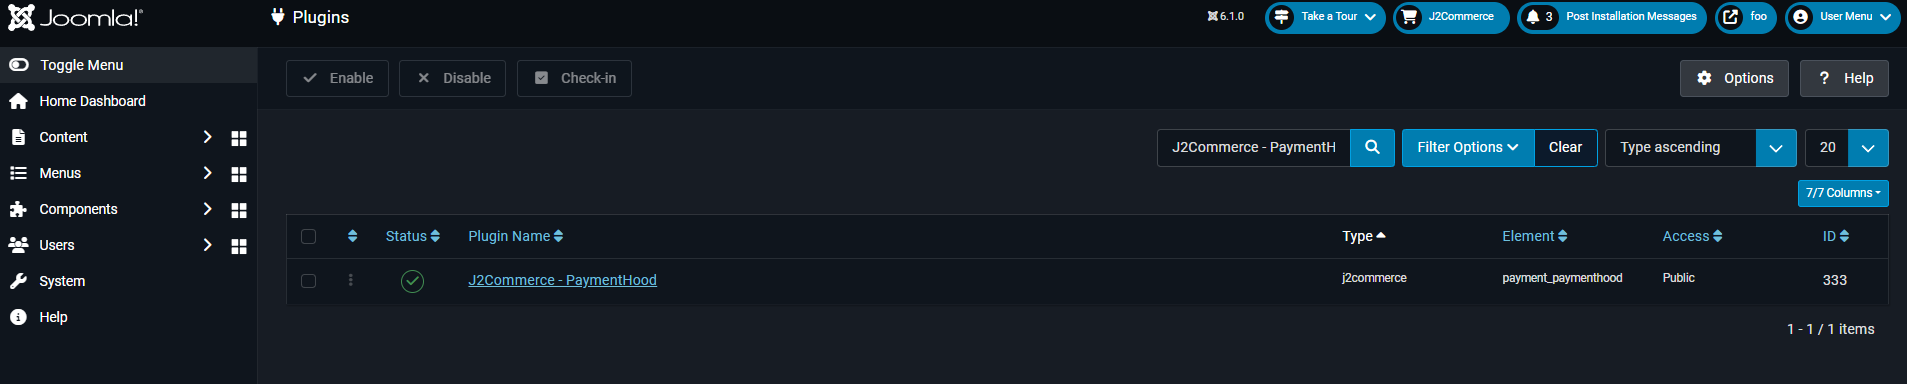
Open the PaymentHood Plugin
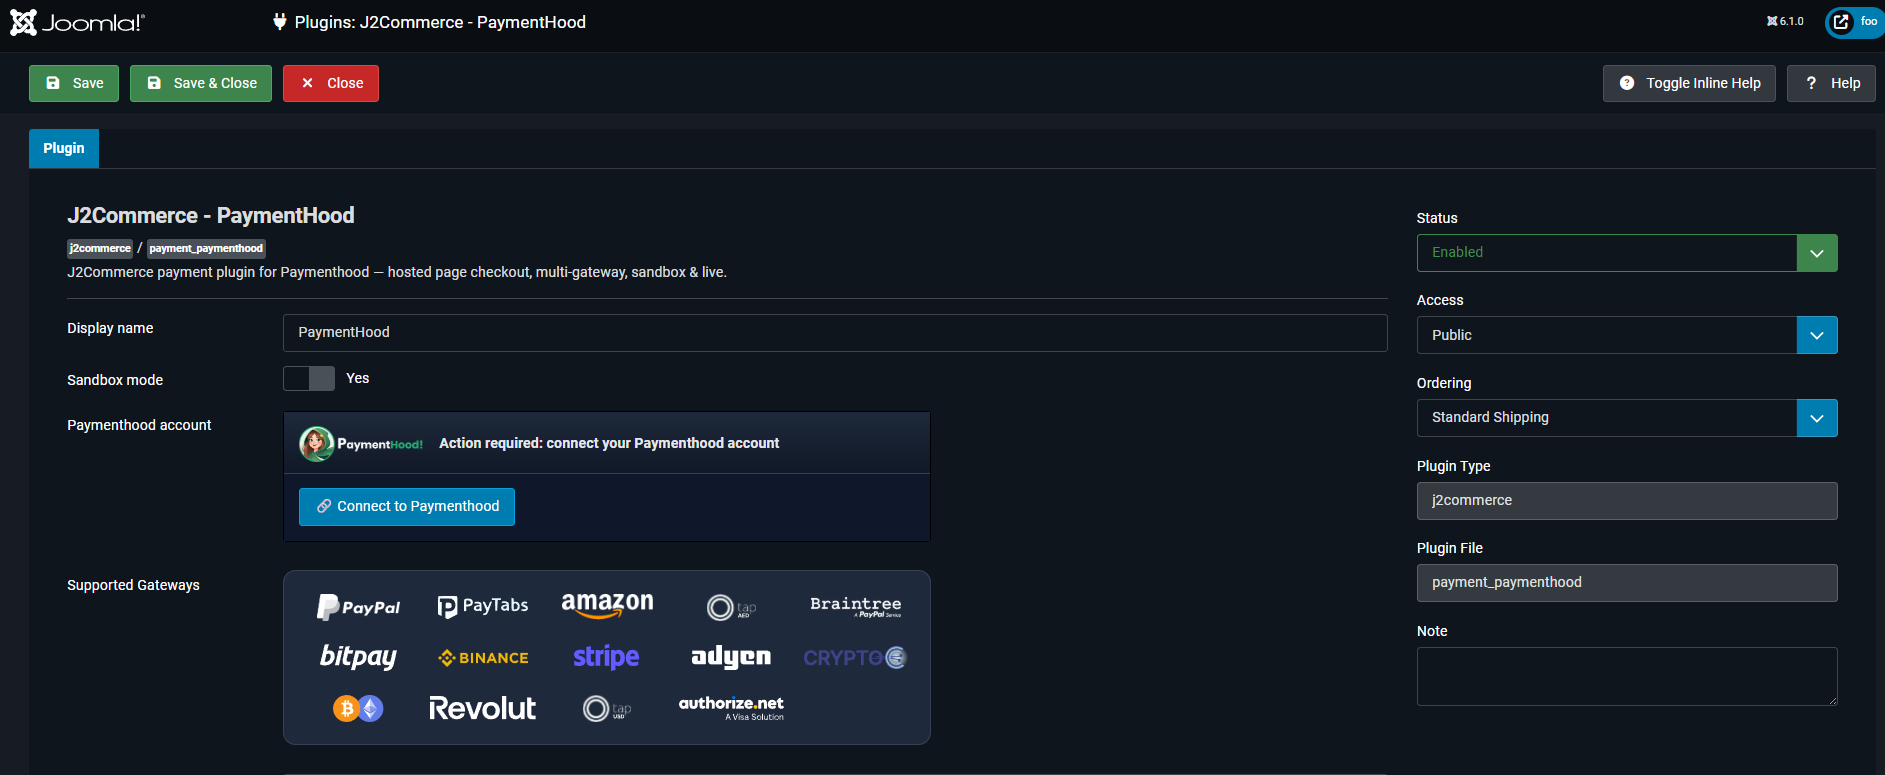
Go to System → Plugins, search for “J2Commerce - PaymentHood” (type j2commerce, element payment_paymenthood), and click the plugin name to open its settings.
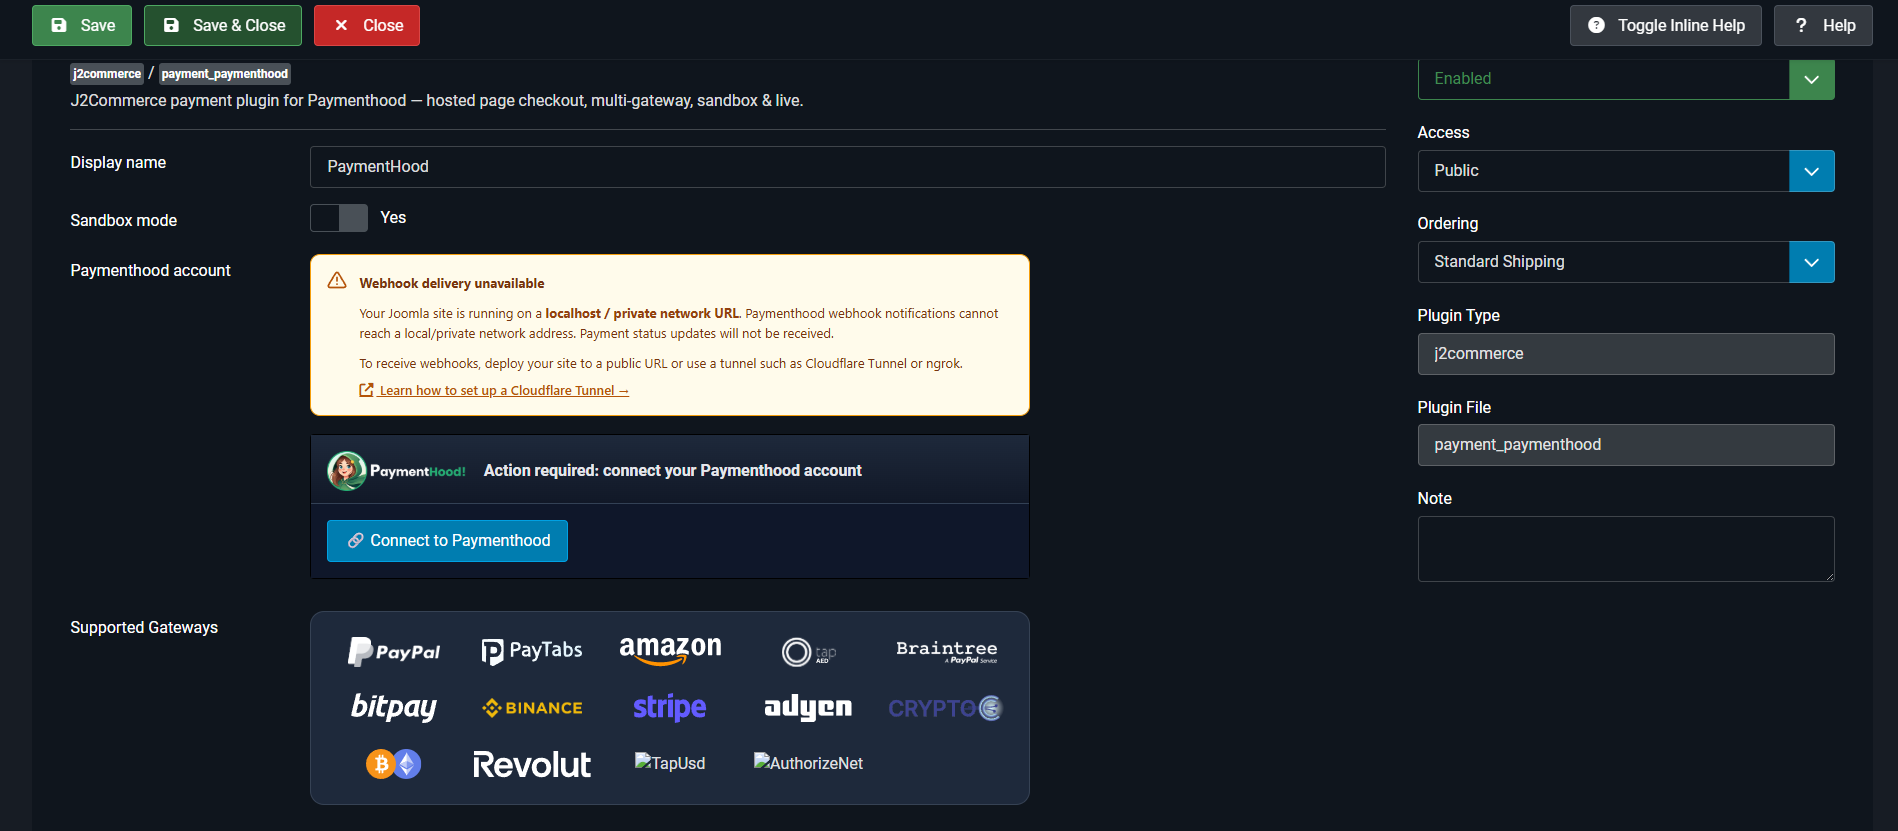
Configure & Connect Your Account
Set the Display name shown to customers at checkout (e.g. PaymentHood) and turn on Sandbox mode while you are testing. Then click Connect to Paymenthood to link your account.
Complete Your Sandbox & Live Setup
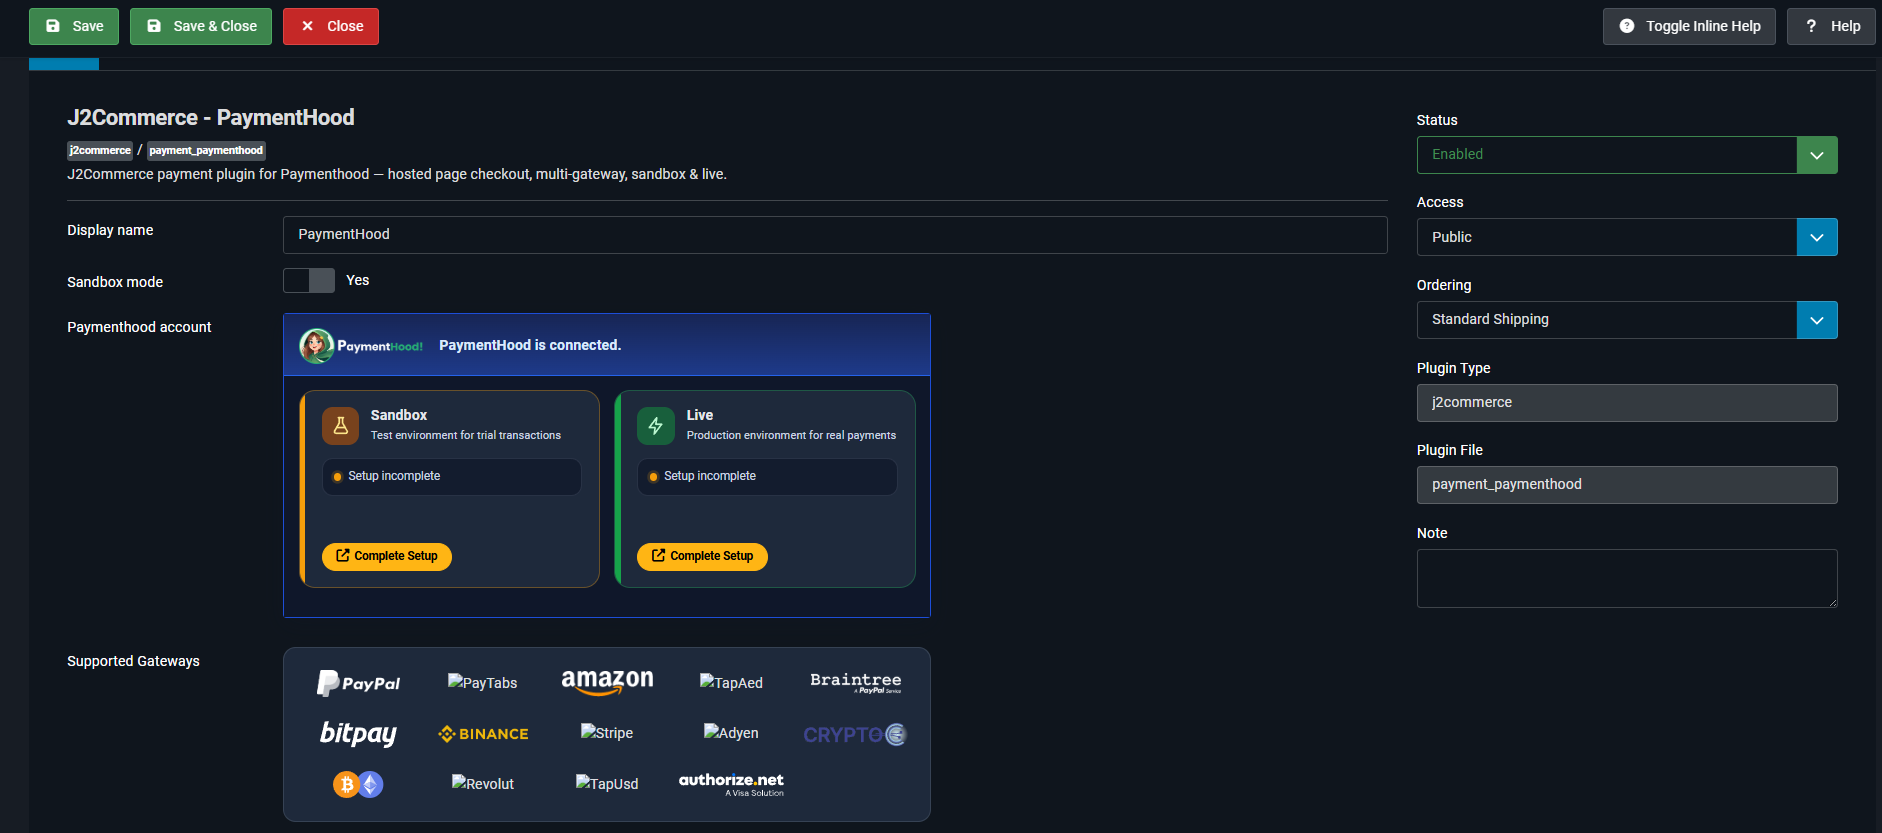
Once connected, the panel shows “PaymentHood is connected” with two environments — Sandbox (for trial transactions) and Live (for real payments). Click Complete Setup on an environment to be taken to the PaymentHood Console to configure it.
Add Your Payment Gateways
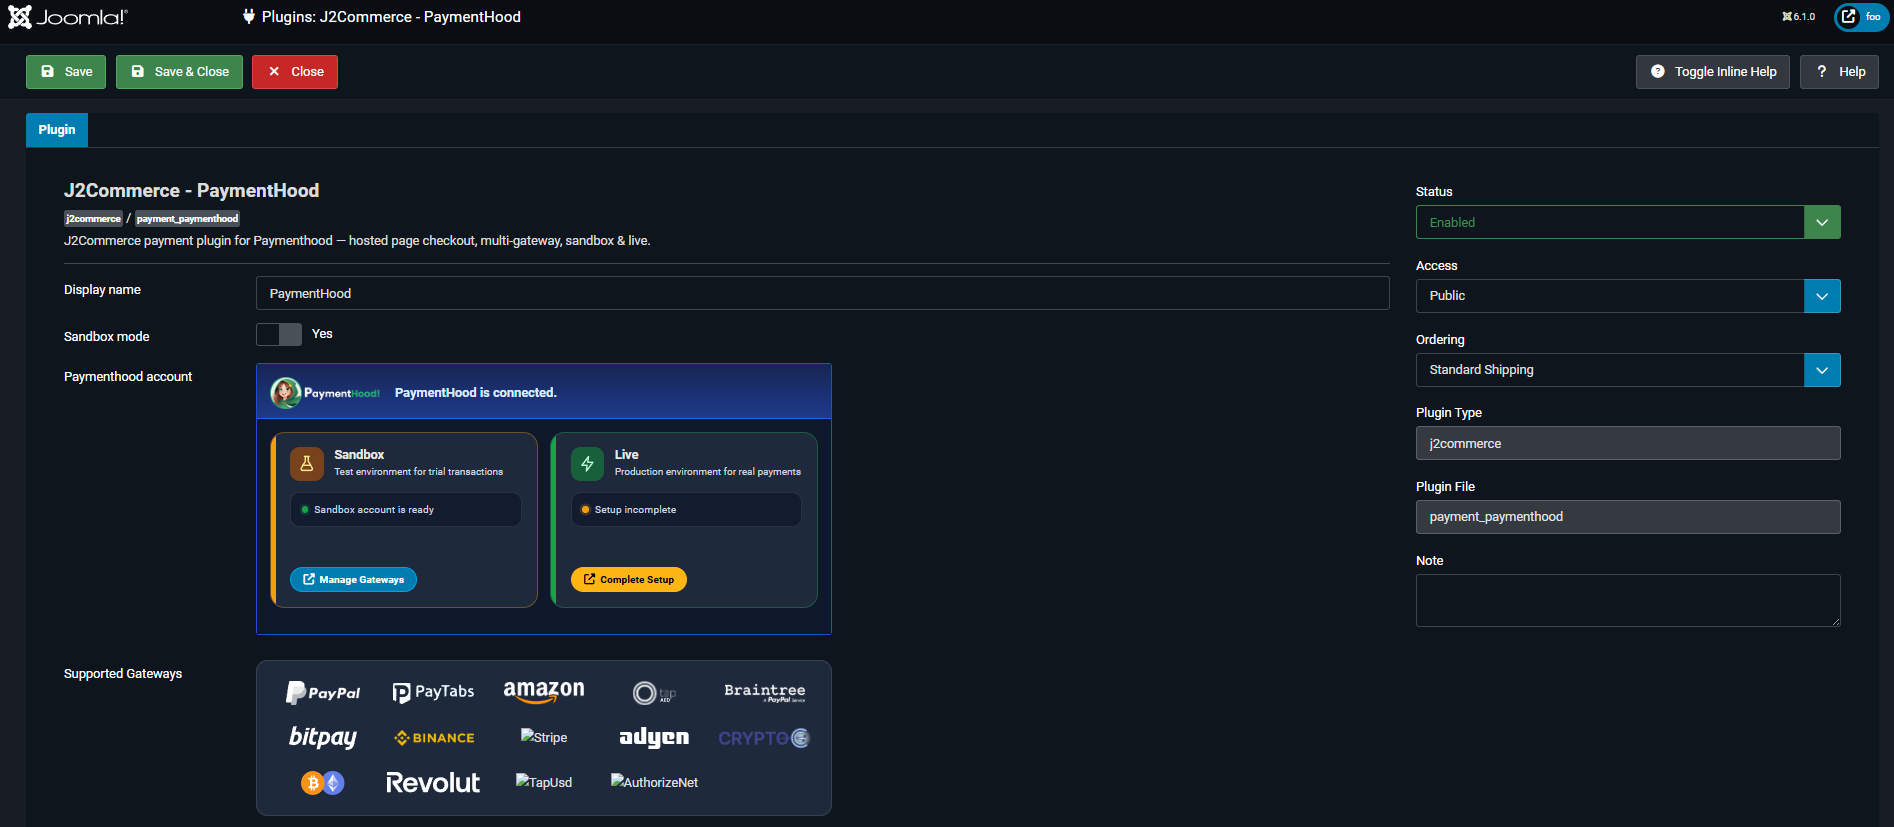
When an environment is configured it shows “Sandbox account is ready” (or Live). Use Manage Gateways to add and enable the providers you want — PayPal, Stripe, Authorize.net, Adyen, and more — all from your PaymentHood account.
What Your Customers See at Checkout
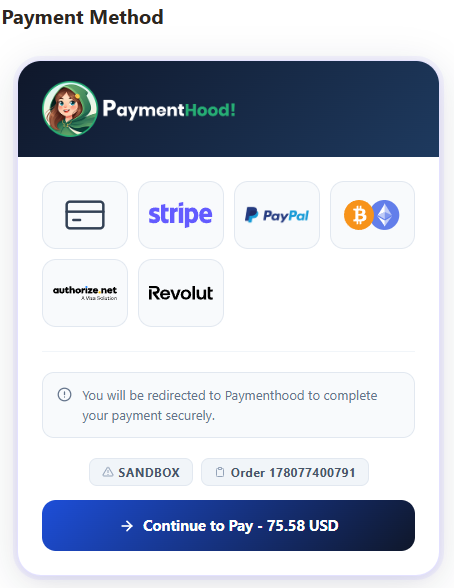
At checkout, shoppers select PaymentHood, choose their preferred provider, and are securely redirected to PaymentHood to complete payment. The Sandbox badge confirms you are still in test mode.
Ready to Get Started?
Download the PaymentHood J2Commerce plugin and start accepting payments in minutes.