PaymentHood for WHMCS
Accept payments through 15+ payment providers with a single integration. Install in under 5 minutes and start processing payments instantly.
Installation Guide
Follow these simple steps to install PaymentHood in your WHMCS
Download the Module
Download the latest PaymentHood WHMCS module from GitHub releases.
Extract & Upload Files
Extract the downloaded ZIP file and upload the contents to your WHMCS installation directory.
/your-whmcs-root/
├── modules/
│ ├── gateways/
│ │ └── paymenthood.php
│ └── addons/
│ └── paymenthood/
└── ...
Activate Payment Gateway
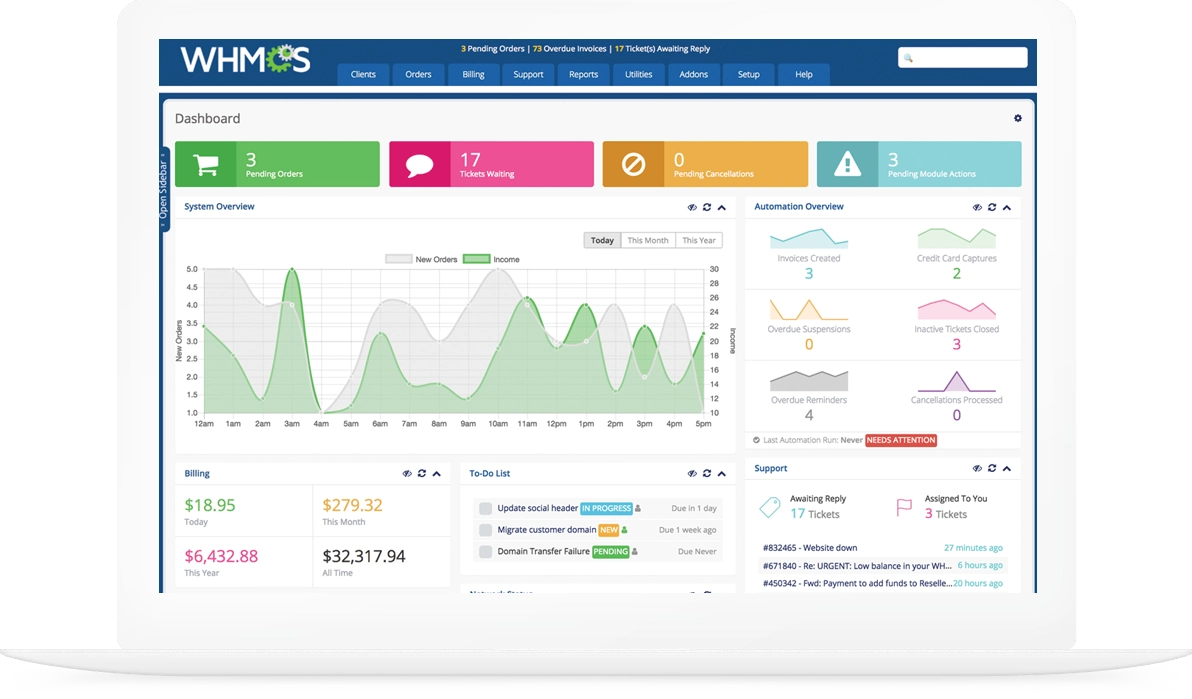
Navigate to System Settings → Payment Gateways in your WHMCS admin panel.
- Visit Apps & Integration
- In the search box, search for PaymentHood
- Select PaymentHood from the results
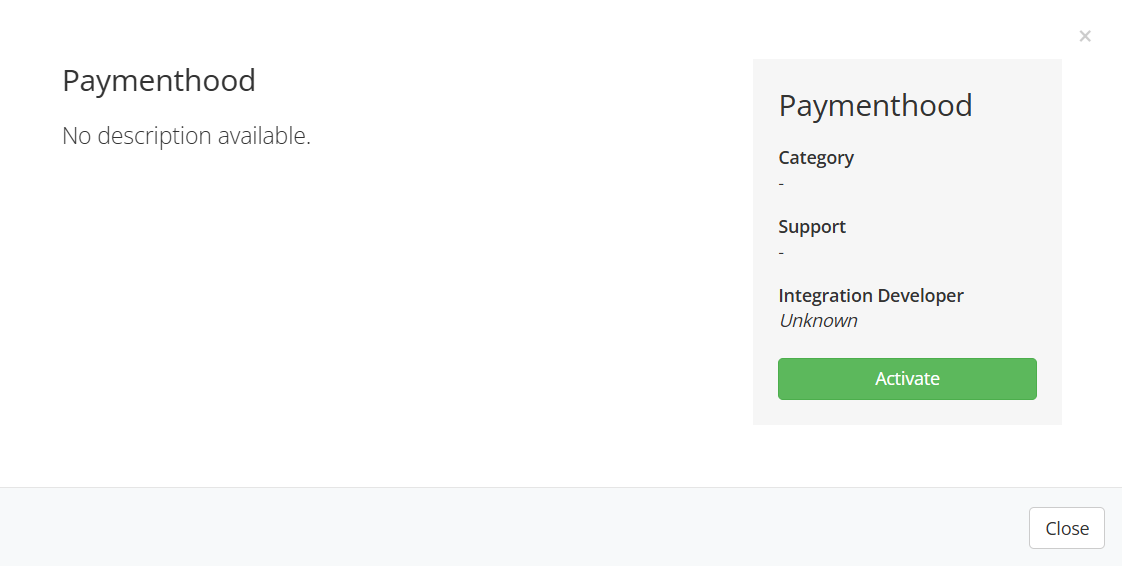
Activate PaymentHood Gateway
Click the "Activate" button to enable PaymentHood in your WHMCS.
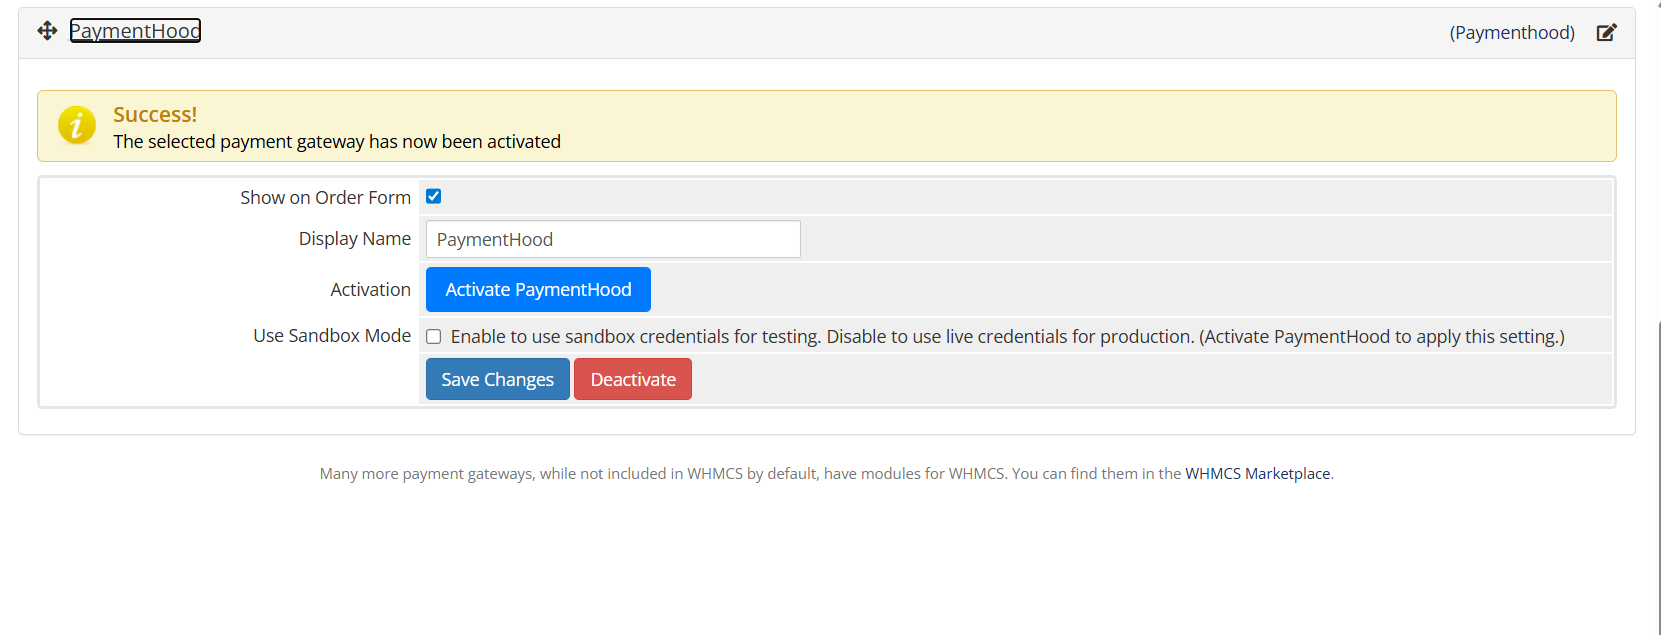
Sign Up with Gmail
After activation, you'll be redirected to PaymentHood for easy sign-up using your Gmail account. Once completed, you'll automatically return to WHMCS.
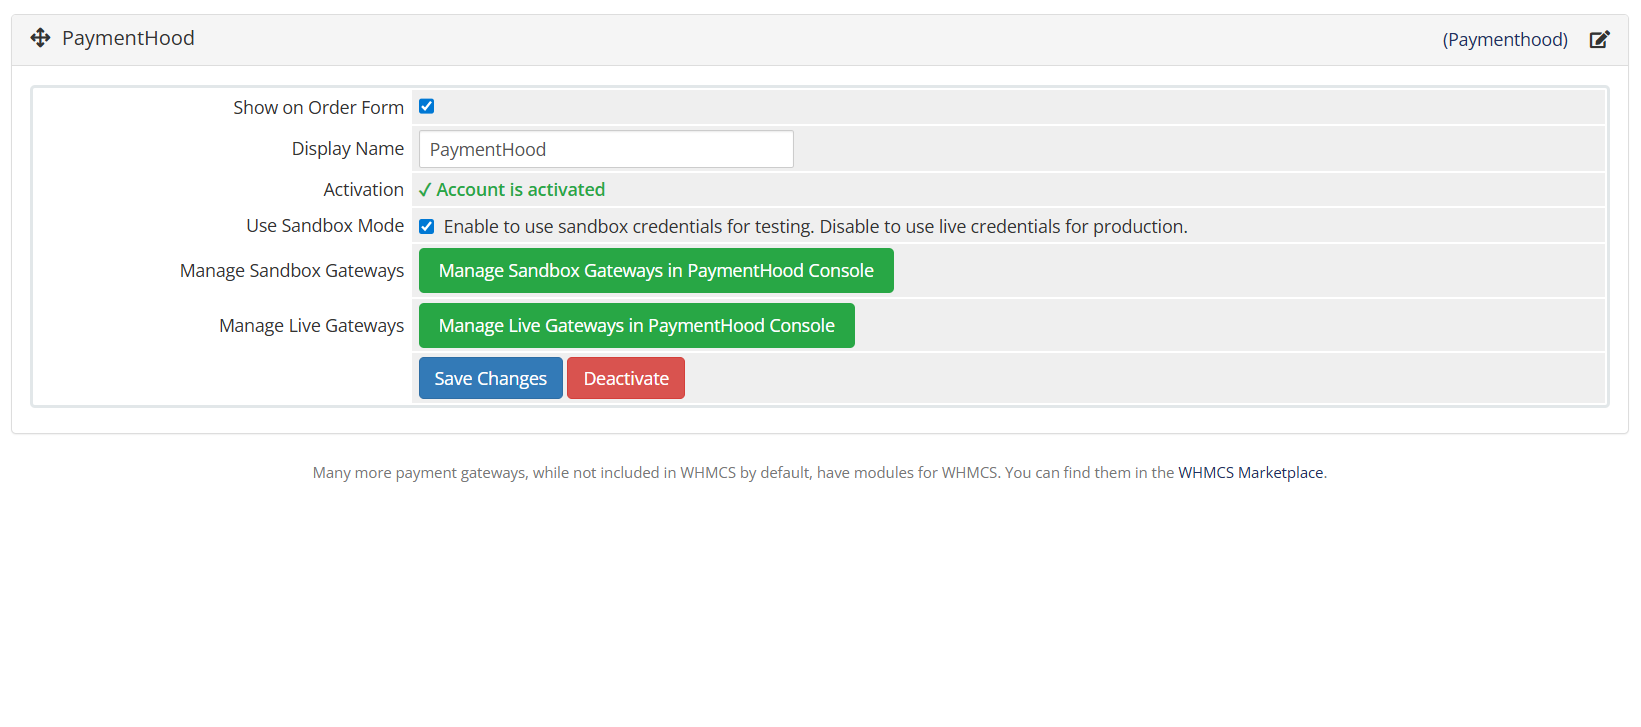
Gateway Ready to Use
Your PaymentHood gateway is now activated and configured. Both sandbox and live apps have been automatically created and are ready to use.
Ready to Get Started?
Download the PaymentHood WHMCS module and start accepting payments in minutes.